There are 2 ways to link your projects in VRcollab with BIM 360™ models:
- Linking VRcollab Projects with BIM 360™ models found in "VRcollab Models" subfolder
- Copying BIM 360™ viewer link into VRcollab.
In order to use option 1, you will need to add your project files into BIM 360™ subfolder called "VRcollab Models" under Plans. If you can't find the subfolder, you will have to create it before you can start uploading.
Here's a step-by-step guide on how to add models to BIM 360™ for use in VRcollab.
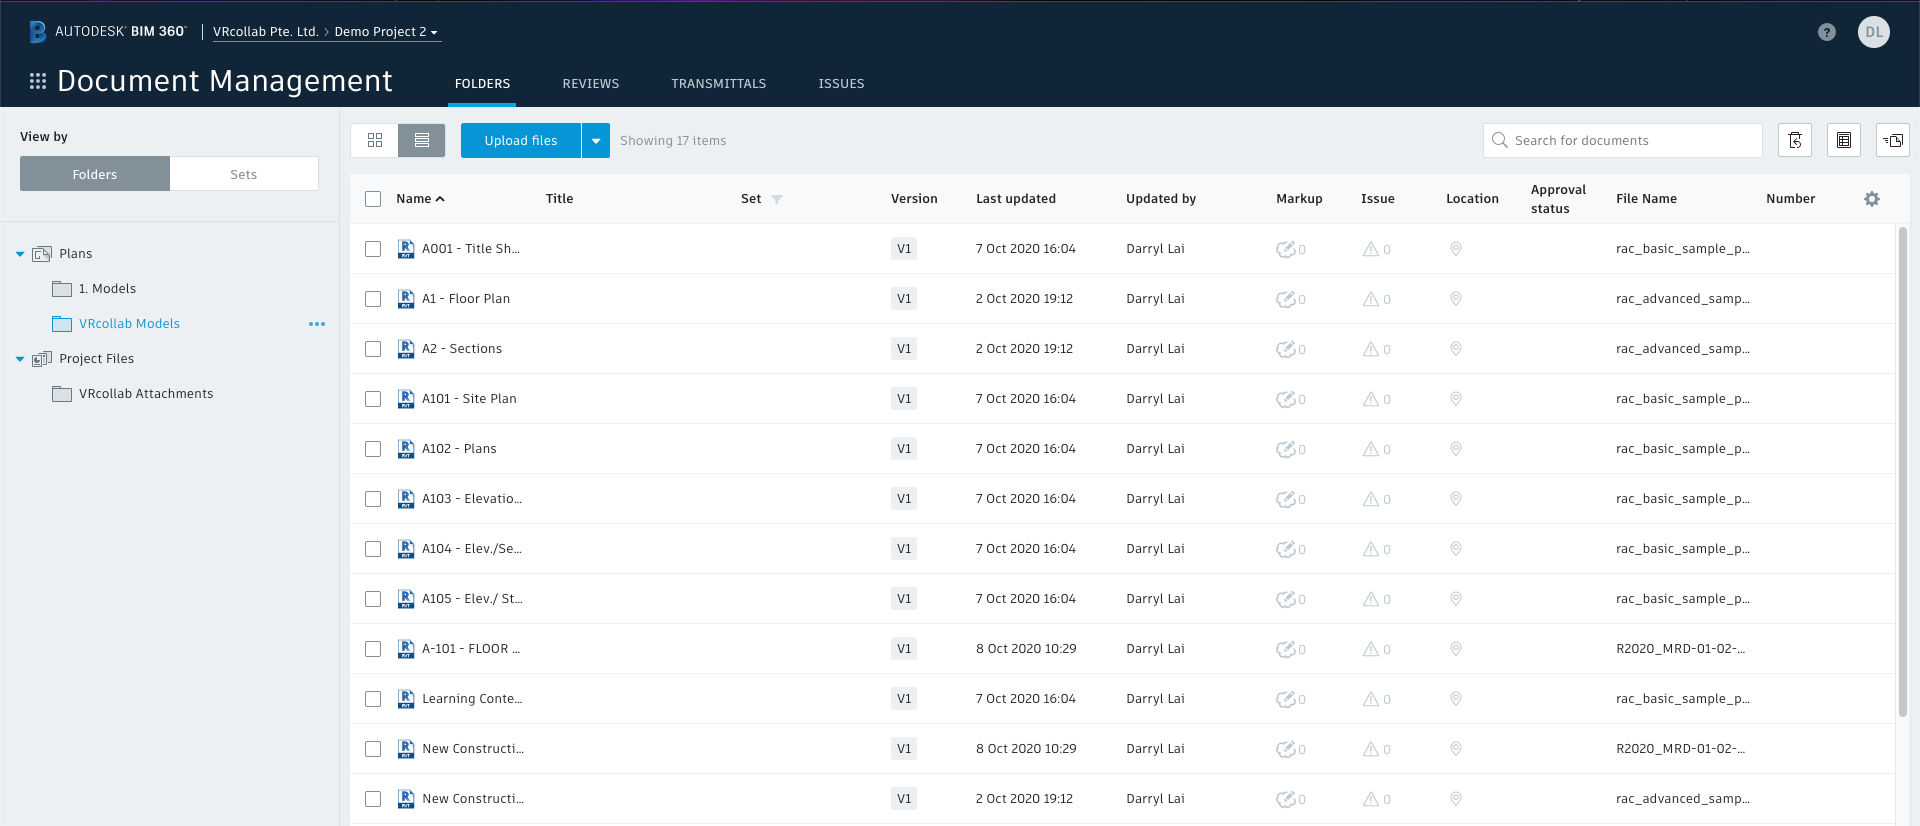
When you open up BIM 360™, you will land on the document management page. On the left of the page you will see two main folders called “Plans” and “Project Files”.
- Click on the three dots located beside Plans > + Add subfolder
- Rename the subfolder to "VRcollab Models" and save it. It is crucial to name the folder correctly or else, your projects/models and issues in BIM 360™ will not be synced to VRcollab.
Once the VRcollab Models subfolder is created, you can upload the BIM models (.rvt, .fbx, etc) into it. To do so, you can use the following methods:
- Drag and drop your project into the VRcollab Models folder
- Click on "Upload Files" located above the attributes bar of BIM 360™. A pop up window will appear, prompting you to select the file for the upload.
After adding your project into BIM 360™, you can now sync your projects and issues in VRcollab with the uploaded models in BIM 360™.
Here is the link for the methods to sync your models: https://vrcollab.com/help/linking-projects-in-vrcollab/